~7m skim, 1,310 words, updated Dec 16, 2025
Functional cross-platform mobile development.
Flutter is an open source framework for building beautiful, natively compiled, multi-platform applications from a single codebase.
Flutter is all about building widget trees, with out-of-box and custom widgets. Widgets are objects based on classes, which can be extended.
ClojureDart is a recent Clojure dialect to make native mobile and desktop apps using Flutter and the Dart ecosystem.
Developing a Flutter app with ClojureDart involves installing Java, Clojure, Android Studio, XCode (on Mac), and finally Flutter. Mobile development is complex and requires large, complex toolchains.
…then follow the ClojureDart Flutter quickstart .
On GNU/Linux you will also need the `ninja-build` apt package.
When evaluating cross-platform mobile app development systems for a side project, I had an eye out for three key features to keep my sanity:

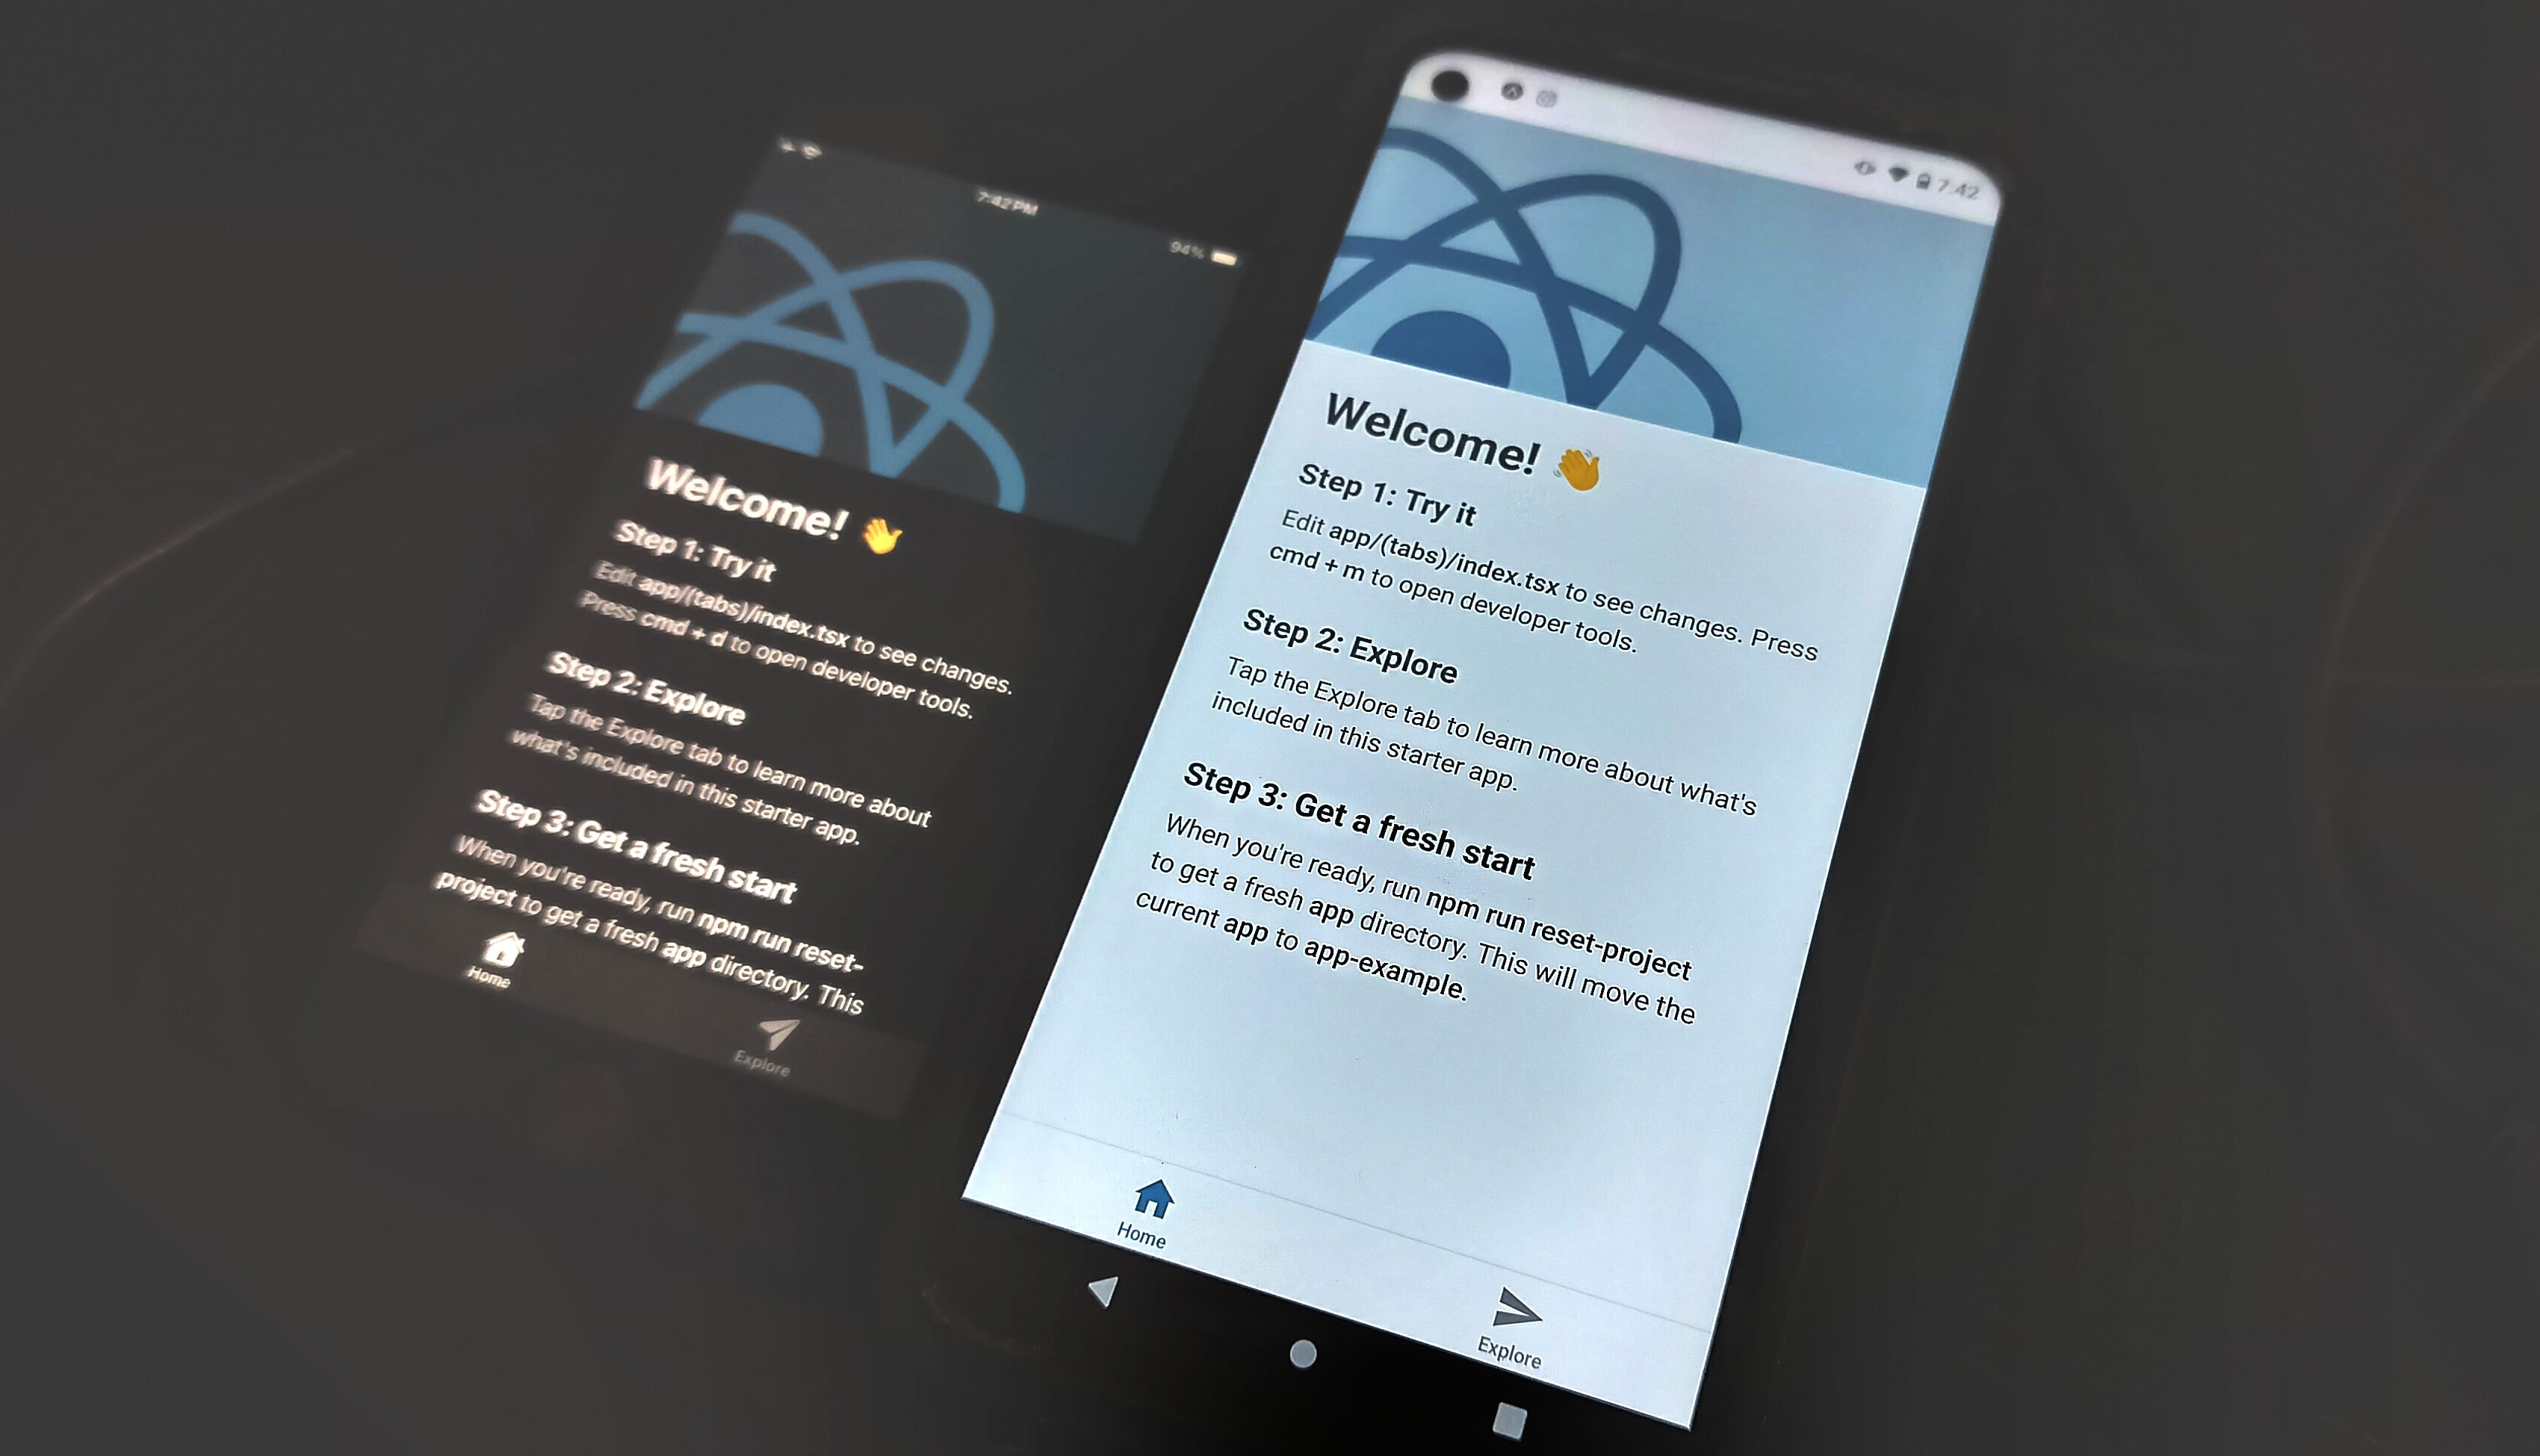
After evaluating React Native (+ClojureScript) and Flutter (+ClojureDart) it became abundantly clear that Flutter had a much shorter and more stable toolchain, significantly less complex dependency management (JS can be hellish, things break often) and a more consistent experience across platforms.

At first glance, Flutter with ClojureDart seems to be a vastly superior way for a solo dev to develop mobile apps. Time will tell if this is true or a large misstep.
To reduce the lines of code required to produce a mobile app. Luckily the DartClojure project exists to convert dart code to ClojureDart, it’s built into Calva, and the dartclojure.el Emacs package exists to facilitate easy use.
These are rough, personal notes - read with caution.
runApp().void main(){} to start the app.import 'package:flutter/material.dart';
void main(){
runApp(MaterialApp());
}pubspec.lock which holds package info and dependenciesHere’s an extremely basic hello world in dart:
import 'package:flutter/material.dart';

void main() {
  runApp(
    const MaterialApp(
      home: Scaffold(
        backgroundColor: Colors.deepPurple,
        body: Text('Hello World!'))));
}
Hit debug in VS Code to run the app.
Here’s the exact equivalent in clojure-dart:
(ns acme.main
  (:require ["package:flutter/material.dart" :as m]
            [cljd.flutter :as f]))

(defn main []
  (f/run
   (m/MaterialApp
    .title "Welcome to Flutter")
    .home
    (m/Scaffold .backgroundColor m.Colors/deepPurple)
    .body
    (m/Text "Let's get coding! Yahoo!")))
Run clj -M:cljd flutter to run the app.
See main.cljd in the test project. Hopefully this makes it clear how named arguments are represented in ClojureDart versus plain Dart.
A little more example:
(ns acme.main
  (:require ["package:flutter/material.dart" :as m]
            [cljd.flutter :as f]))

;; clj -M:cljd flutter

(defn main []
  (f/run
   (m/MaterialApp .title "Welcome to Flutter")
    .home
    (m/Scaffold .backgroundColor m.Colors/deepPurple)
    .body
    (m/Container
      .decoration (m/BoxDecoration
                    .gradient (m/LinearGradient
                                .colors [m.Colors/red m.Colors/white]
                                .begin m.Alignment/topLeft)))
    (m/Center)
    (m/Container .decoration (m/BoxDecoration .color m.Colors/red))
(m/Text "Let's get coding! Yahoo!")))Typically you want to break up huge widget trees by creating your own widgets. Here’s an example of that refactoring:
void main() {
  runApp(MaterialApp(
    home: Scaffold(
      backgroundColor: Colors.deepPurple,
      body: Container(
        decoration: const BoxDecoration(
            gradient: LinearGradient(
              colors: [Colors.blue, Colors.red],
              begin: Alignment.topLeft,
              end: Alignment.bottomRight,
            )),
        child: const Center(
            child: Text("Hello World!",
                style: TextStyle(color: Colors.white, fontSize: 30)))),
  )));
}
Widgets are objects, and creating a new widget is the same as instantiating a new object from a class.
void main() {
  runApp(MaterialApp(
      home: Scaffold(
       backgroundColor: Colors.deepPurple,
       // Replace the body with our new widget
       body: GradientContainer()
  )));
}

class GradientContainer extends StatelessWidget {
  // MISSING: Constructor Function, see below

  @override
  Widget build(BuildContext context) {
    return Container(
        decoration: // ... //
        child: const Center(child: Text("Hello World!",
                style: TextStyle(color: Colors.white, fontSize: 30))));
  }
}
The constructor function defines the data that must be passed to our widget.
[]=required to ensure named parameters are passed// Positional arguments (required by default)
const GradientContainer(a, b, [c, d=5]);
// Named arguments
const GradientContainer({a, required b, c=3});
// Necessary scaffolding
const GradientContainer({key}): super(key: key);
// Shortcut for the above
const GradientContainer({super.key});You can add multiple constructor functions to one class. By providing multiple constructors with different defaults, you can easily provide shortcuts to instantiating slight variations on your widget.
GradientContainer.red({super.key, required this.children}) : colors = [Colors.deepOrange, Colors.red];Note: To organize your project, move your widgets to
lowercase_name.dart files. This is convention. They can then be
imported into your main view with a line like the following, using
your project name:
import 'package:your_flutter_app/gradient_container.dart';While we are discussing conventions, here are a few:
ClassNames      // Classes start with an uppercase
variableNames   // Variables start with a lowercase

// Ending a variable with '?' allows it to be null
var Alignment startAlignment?;
const means something is a compile-time constant and will not change.
You cannot use const to ’lock’ a widget that depends on variables.
Pass data into classes with the constructor function:
class GradientContainer extends StatelessWidget {
  const GradientContainer({super.key, required this.children});

  // 'final' means single-assignment
  final List<Widget> children;

  @override
  Widget build(BuildContext context) {
    return Container(
        decoration: const BoxDecoration(
            gradient: LinearGradient(
          colors: [Colors.blue, Colors.red],
          begin: Alignment.topLeft,
          end: Alignment.bottomRight,
        )),
        child: Center(
            child: c.Column(
              mainAxisAlignment: MainAxisAlignment.center,
              crossAxisAlignment: CrossAxisAlignment.center,
              children: children)));
  }
}

// Usage:
GradientContainer(children: [
  Text("Hello World!")
])(){} // Can be used inline
void rollDice(){}Long story short: Stateless should be used for elements that will not change during their rendering lifetimes.
Flutter will only update the UI if the build method is executed again.
Within a stateful widget, the setState special function must be used
to prompt a UI update.
“Calling setState notifies the framework that the internal state of this object has changed in a way that might impact the user interface in this subtree.” ( docs )
import 'package:dchs_flutter_beacon/dchs_flutter_beacon.dart';
import 'package:flutter/material.dart';
import 'package:flutter/cupertino.dart' as c;
import 'package:dice_roller/gradient_container.dart';
import 'package:flutter/services.dart';
import 'dart:math';

class DiceRoller extends StatefulWidget{
  @override
  State<StatefulWidget> createState() {
    return _DiceRollerState();
  }
}

// Instantiate objects outside your classes
final randomizer = Random();
final beacon = DchsFlutterBeacon();

class _DiceRollerState extends State<DiceRoller> {

  var activeDiceImage = 1;

  String getDiceImagePath(int a){
    return 'assets/images/dice-$a.png';
  }

  void rollDice() async {
    print("Rolling dice...");
    HapticFeedback.heavyImpact();
    SystemSound.play(SystemSoundType.alert);

    // setState prompts a UI update inside this StatefulWidget
    setState(() {
      activeDiceImage = randomizer.nextInt(6) + 1;
      print("Rolled a $activeDiceImage");
    });
  }

  @override
  Widget build(BuildContext context) {
    return GradientContainer.red(
        children: [

          // A button as a child
              TextButton(
                onPressed: rollDice, // Onpressed can run a function
                style: TextButton.styleFrom(
                padding: EdgeInsets.all(20),
                foregroundColor: Colors.white,
                textStyle: const TextStyle(fontSize: 28)
                ),
              child: const Text("Roll Now"))
        ]);
  }
}You may include assets organized however you want in your project, but
they must be mentioned in your pubspec.yaml file like so:
flutter:
  # To add assets to your application, add an assets section:
  assets:
    - assets/images/example-1.png
    - assets/images/example-2.png
These can be included like so:
Image.asset('assets/images/example-2.png')https://dart.dev/libraries/async/async-await#example-asynchronous-functions
In the project root you can run something like this:
flutter pub add dhcs_flutter_beaconTo add a library like dhcs_flutter_beacon ( gh ) to your project.
Per this
flutter cookbook article
, you can store and retrieve data
from SQLite with the sqflite package.
flutter pub add sqflite pathPer the flutter cookbook article ‘
reading and writing files
’, use the
path_provider and file_picker package on mobile to provide this. The
packages should automatically ask for permissions when they are required.
String? selectedDirectory = await FilePicker.platform.getDirectoryPath();Automatically wraps platform-specific user data storage to keep key-value pairs.
Pages are organized by last modified.
Title: Flutter & ClojureDart
Word Count: 1310 words
Reading Time: 7 minutes
Permalink:
→
https://manuals.ryanfleck.ca/flutter/